


How to Identify Antique Radios
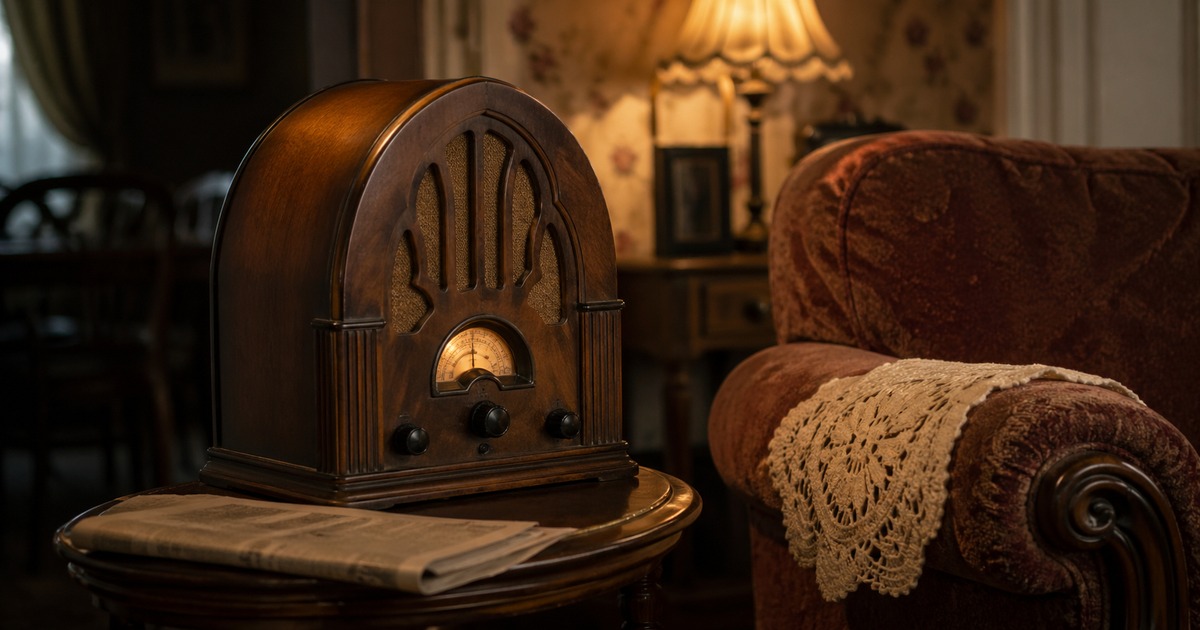
If you are trying to work out how to identify antique radios, start with the evidence that is hardest to fake: marks, material, construction, and wear. This guide gives you a practical first-pass workflow so you can narrow what you have before you decide whether to keep researching, list it for sale, or ask for a professional appraisal.
The goal is not to promise certainty from one photo. The goal is to help you ask better questions, take better photos, and spot the clues most likely to move the identification forward.
Quick identification checklist
- Check the serial number plate location specific to that machine type.
- Check the model badge or name plate.
- Check the case material, finish, and decals.
- Check the knob, dial, and tube layout where relevant.
- Check the any patent dates molded or stamped on the body.
What to inspect first
Begin with the parts of the object that carry the most diagnostic value. For this topic, that usually means serial number plate location specific to that machine type, model badge or name plate, and any visible maker’s marks, labels, or numbers. Write down exactly what you see before you start searching. Small wording differences on marks matter.
If the object has damage or repairs, note those too. A replacement lid, repaired foot, or modern screw can change both the dating and the confidence of your identification.
Step-by-step identification process
- Photograph the whole object first so the shape and proportions are clear.
- Capture close-ups of serial number plate location specific to that machine type and any distinctive marks or labels.
- Compare the material, finish, or construction details with known examples from trusted references.
- Check whether the wear pattern matches real use and age or looks artificially added.
- Use Antique Identifier as a shortcut to narrow the likely category, era, or maker, then verify against stronger references if the item seems important.
Cabinets, dials, and chassis tags
Antique radios usually fall into a few cabinet families: tabletop wood radios from the 1920s and 1930s, large floor-standing console radios from the 1930s and 1940s, Bakelite and Catalin plastic radios from the late 1930s and 1940s, and Mid-century plastic and metal radios from the 1950s onward. The cabinet style alone usually narrows the era to a decade. The dial face, with its station scale and tuning markers, often confirms the model when compared to factory catalog images.
The chassis tag is the most reliable identifier. Inside the cabinet, on the metal chassis that holds the tubes, most makers including Philco, RCA, Zenith, Atwater Kent, and Crosley attached a paper or metal label with model number, chassis number, and sometimes a date code. Once you have the model number, online resources like Radiomuseum and Nostalgia Air tie it to a specific year of release and a schematic.
Catalin and colored Bakelite radios deserve their own care. The most desirable vintage radios for collectors are often small Catalin sets in red, yellow, blue, or green. Genuine Catalin develops a slight color shift and a distinctive patina, and a hot needle test by an expert can confirm material. Reproductions and modern Bakelite-look pieces do exist, particularly for the Fada Bullet and similar shapes, so weight, color depth, and chassis details all need to line up before you accept a piece as a true Catalin radio.
Watch-outs and common mistakes
- confusing the case serial with the movement or chassis serial.
- assuming a missing badge means the machine is unidentifiable.
- trusting reproduction decals and badges sold as original.
- ignoring rewiring or modern conversions that change the value story.
Photo tips that improve identification
- photograph the serial number plate in sharp focus.
- capture the badge and any decals undamaged.
- shoot the back, base, or chassis where most marks live.
Putting it all together
No single clue settles how to identify antique radios on its own. Marks can be added later, materials can be substituted, and wear can be faked. What gives you a confident identification is a stack of consistent evidence: the mark agrees with the material, the material agrees with the construction, and the construction agrees with the era the mark suggests. When all three line up and the wear looks honest for an object that age, you usually have what you think you have.
When one clue disagrees with the others, slow down rather than forcing a conclusion. A common pattern is a real period body with a later mark added to lift value, or a modern reproduction with a legitimate-looking signature. Documenting the disagreement in your notes is more useful than hand-waving past it. If a piece might be valuable, the cost of a second opinion from a specialist is small compared to the cost of getting it wrong.
Related guides
When to use the Antique Identifier app
The app is most useful after you have taken one full photo and a few tight detail shots. It can help narrow the likely type, era, and material, which makes your follow-up research faster. If the result points to something unusually rare, signed, or high value, treat that as a prompt for deeper verification rather than a final answer.
Topics