


How to Identify Military Medals and Insignia
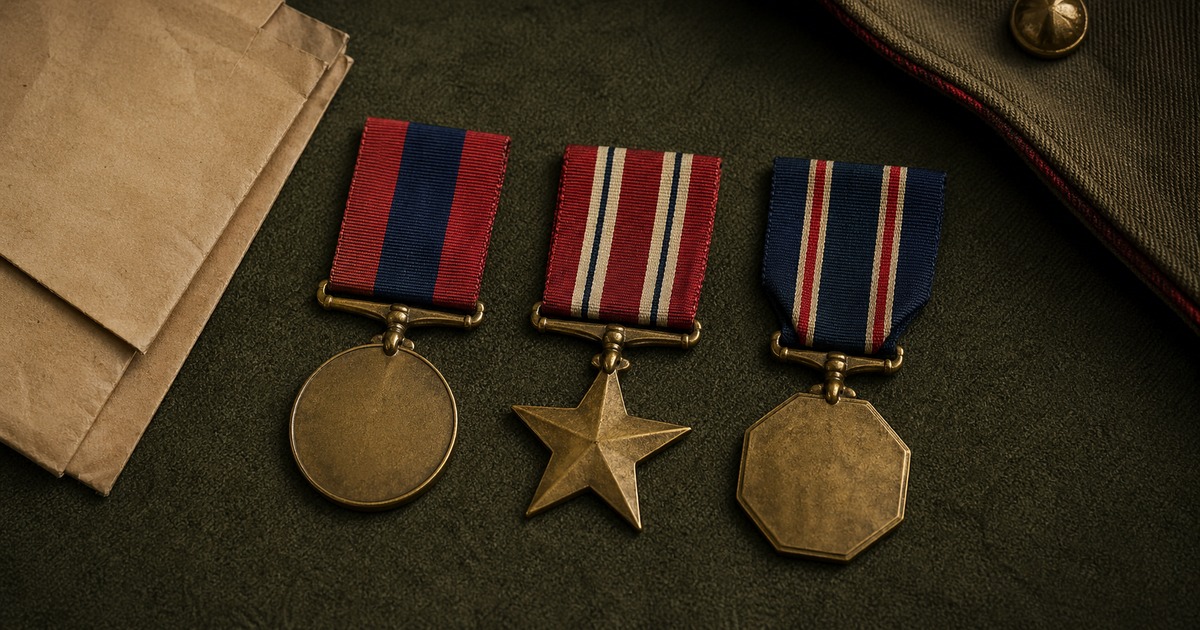
If you are trying to work out how to identify military medals and insignia, start with the evidence that is hardest to fake: marks, material, construction, and wear. This guide gives you a practical first-pass workflow so you can narrow what you have before you decide whether to keep researching, list it for sale, or ask for a professional appraisal.
The goal is not to promise certainty from one photo. The goal is to help you ask better questions, take better photos, and spot the clues most likely to move the identification forward.
Quick identification checklist
- Check the ribbon colors, stripes, and order of precedence.
- Check the ribbon devices like oak leaves, stars, and arrowheads.
- Check the hallmark or maker stamp on the back of the medal.
- Check the naming, numbering, or unit engraving on the rim.
- Check the construction method and mounting style.
What to inspect first
Begin with the parts of the object that carry the most diagnostic value. For this topic, that usually means ribbon colors, stripes, and order of precedence, ribbon devices like oak leaves, stars, and arrowheads, and any visible maker’s marks, labels, or numbers. Write down exactly what you see before you start searching. Small wording differences on marks matter.
If the object has damage or repairs, note those too. A replacement lid, repaired foot, or modern screw can change both the dating and the confidence of your identification.
Step-by-step identification process
- Photograph the whole object first so the shape and proportions are clear.
- Capture close-ups of ribbon colors, stripes, and order of precedence and any distinctive marks or labels.
- Compare the material, finish, or construction details with known examples from trusted references.
- Check whether the wear pattern matches real use and age or looks artificially added.
- Use Antique Identifier as a shortcut to narrow the likely category, era, or maker, then verify against stronger references if the item seems important.
Reading the ribbon and the rim
Most military medals carry their identity on two surfaces: the ribbon and the rim or back of the medal itself. The ribbon, with its specific stripe colors and order, is often more diagnostic than the front of the medal. United States military ribbons measure 1.375 inches across, and the order of the stripes from left to right uniquely identifies the award. Ribbon devices like oak leaf clusters, stars, V devices, or arrowheads add further information about repeat awards, valor, or campaign participation.
The rim and back can carry naming, unit numbers, serial numbers, and hallmarks. British World War One medals were almost always officially named with the recipient’s service number, rank, name, and unit engraved on the rim. United States medals from World War Two and earlier sometimes carry a serial number or unit engraving on the back. An unnamed medal is harder to research and usually trades at a lower price than a named example, even when both are issue pieces.
Reproduction risk is real, especially for high-end awards. Reproductions of Iron Crosses, Knight’s Crosses, and Victoria Crosses circulate widely. Movie-prop pieces and commemorative restrikes also appear with no clear original-versus-restrike distinction in their marking. Always compare any potentially valuable medal to documented period examples for ribbon weave, swing or pin-back construction, and back-stamp style before accepting it as genuine.
Watch-outs and common mistakes
- assuming all medals are issue pieces rather than copies.
- ignoring restruck or commemorative versions.
- treating an unnamed medal the same as a named one.
- missing modern fantasy or movie-prop pieces.
Photo tips that improve identification
- photograph the front and back of every medal.
- capture any rim engraving in raking light.
- shoot the ribbon flat to show stripe order.
Putting it all together
No single clue settles how to identify military medals and insignia on its own. Marks can be added later, materials can be substituted, and wear can be faked. What gives you a confident identification is a stack of consistent evidence: the mark agrees with the material, the material agrees with the construction, and the construction agrees with the era the mark suggests. When all three line up and the wear looks honest for an object that age, you usually have what you think you have.
When one clue disagrees with the others, slow down rather than forcing a conclusion. A common pattern is a real period body with a later mark added to lift value, or a modern reproduction with a legitimate-looking signature. Documenting the disagreement in your notes is more useful than hand-waving past it. If a piece might be valuable, the cost of a second opinion from a specialist is small compared to the cost of getting it wrong.
Related guides
- How to Identify Antique Oriental Rugs
- How to Identify Wedgwood Marks and Date
- How to Identify Antique Lamps
When to use the Antique Identifier app
The app is most useful after you have taken one full photo and a few tight detail shots. It can help narrow the likely type, era, and material, which makes your follow-up research faster. If the result points to something unusually rare, signed, or high value, treat that as a prompt for deeper verification rather than a final answer.
Topics