Silver Makers Marks Identification: How to Read Maker Stamps
Silver makers marks identification gets confusing when people treat every stamp the same. On silver, not every mark identifies the maker. Some marks indicate purity. Some point to assay office or date. Some belong to a retailer or importer. If you want a useful first pass, you need to sort the marks into the right categories before you trust what they mean.
Silver makers marks identification gets confusing when people treat every stamp the same. On silver, not every mark identifies the maker. Some marks indicate purity. Some point to assay office or date. Some belong to a retailer or importer. If you want a useful first pass, you need to sort the marks into the right categories before you trust what they mean.
That is the main difference between this topic and a broader hallmark guide. A hallmark set can include several punches at once. A maker’s mark is only one part of that set, and it is easy to misread if you ignore the others.
What a silver maker’s mark usually is
A silver maker’s mark is commonly an initial, name, symbol, or sponsor stamp associated with the maker, workshop, or company responsible for the piece. It often sits beside other marks rather than standing alone.
That matters because many people find the clearest punch on the object and assume it is the maker. In reality, the easiest mark to read may be the retailer, the purity, or a later import mark.
Start by separating mark types
Before trying to identify the maker, sort the visible stamps into categories:
- purity or standard marks such as
925orSTERLING - assay-related symbols where relevant
- maker’s or sponsor’s marks
- retailer marks
- import or export wording
If you are still working at the hallmark level, start with Sterling Silver Hallmarks: What the Marks Mean first. Once you know which punch is likely the maker’s mark, this post becomes much more useful.
Where silver maker’s marks usually appear
Check the places that tend to keep the clearest stamps:
- undersides of hollow ware
- backs of handles
- lids and lid rims
- inside bowls or trays
- junction points where handles meet the body
Take one full photo before zooming in on the mark. The form of the object still matters. A mark that suggests one kind of silver item should make sense for the piece you actually have.
How to read the stamp without forcing a match
Use this sequence:
- photograph the whole object
- photograph every visible mark, not just the clearest one
- write down the exact letters, punctuation, and shape of the cartouche
- separate likely maker marks from purity or retailer marks
- compare the mark against the object’s form, wear, and material evidence
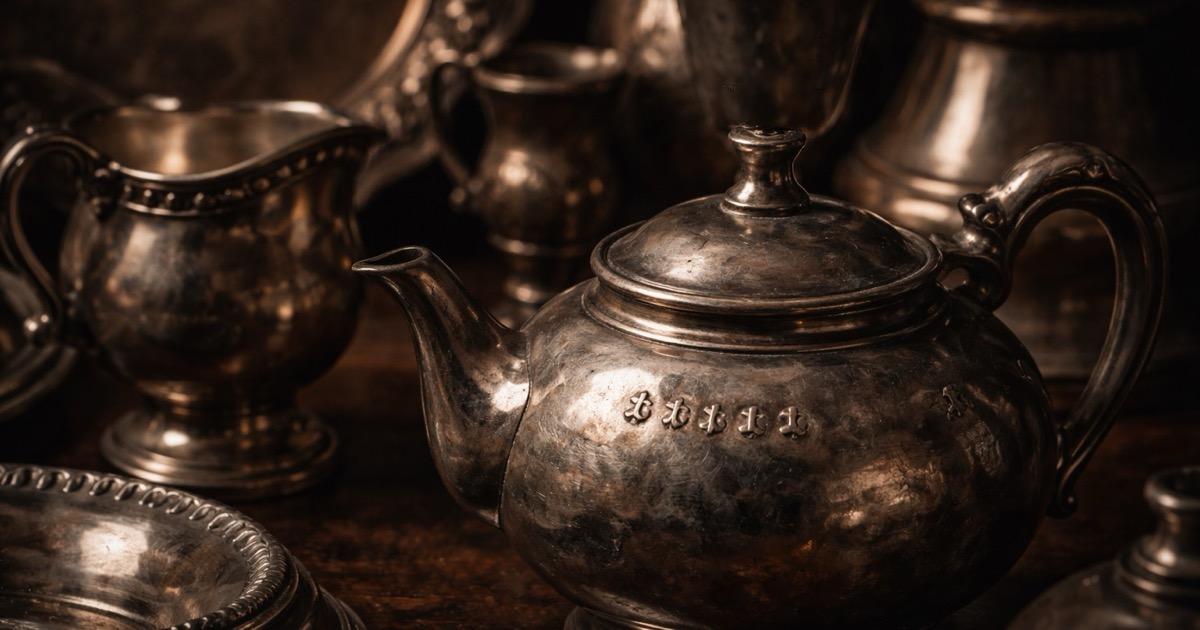
The cartouche shape can matter almost as much as the letters. Even when the initials look similar, the surrounding outline and accompanying marks may point you to a different maker or period.
Common mistakes in silver makers marks identification
These are the errors that waste the most time:
- mistaking a retailer mark for the maker
- reading only the clearest punch and ignoring the rest
- assuming the maker mark alone dates the piece
- ignoring plating wear while chasing a promising stamp
- searching an approximate letter combination until something fits
That last one is especially common. A worn JB-looking punch is not useful if the rest of the piece contradicts the result you want.
What else should agree with the maker’s mark
Even if the maker’s stamp looks promising, check whether the object itself supports it:
- does the silver standard make sense with the maker?
- does the construction fit the supposed period?
- is there plating wear that suggests the piece is not sterling?
- do the marks appear naturally aged rather than freshly struck?
This is why silver identification works best as a group exercise between marks, material, and wear. The marks should confirm the object, not rescue it.
Better photos make silver marks easier to read
Silver is hard to photograph because reflections wash detail away. For cleaner mark reading:
- use indirect daylight
- take one close-up straight on and one from a slight angle
- include a wider shot showing where the mark sits on the piece
- photograph edges and high points for plating wear
- avoid heavy polishing before documenting the marks
If you want the photo-specific workflow, pair this post with How to Photograph Makers Marks for Identification.
What to do after you identify the maker
Once the maker’s mark seems plausible, the next questions are practical:
- is the piece sterling or plated?
- is the form desirable?
- is the condition strong?
- does the market care about this maker?
That is the point where pricing and appraisal become relevant. For the valuation side, use Antique Price Guide: How to Estimate What It’s Worth after identification, not before it.
When the app helps
The app is most useful when you upload the whole object plus all the marks, not just one cropped punch. That gives it enough evidence to narrow likely type, era, and material and helps you avoid chasing the wrong maker family from one ambiguous stamp.
Topics