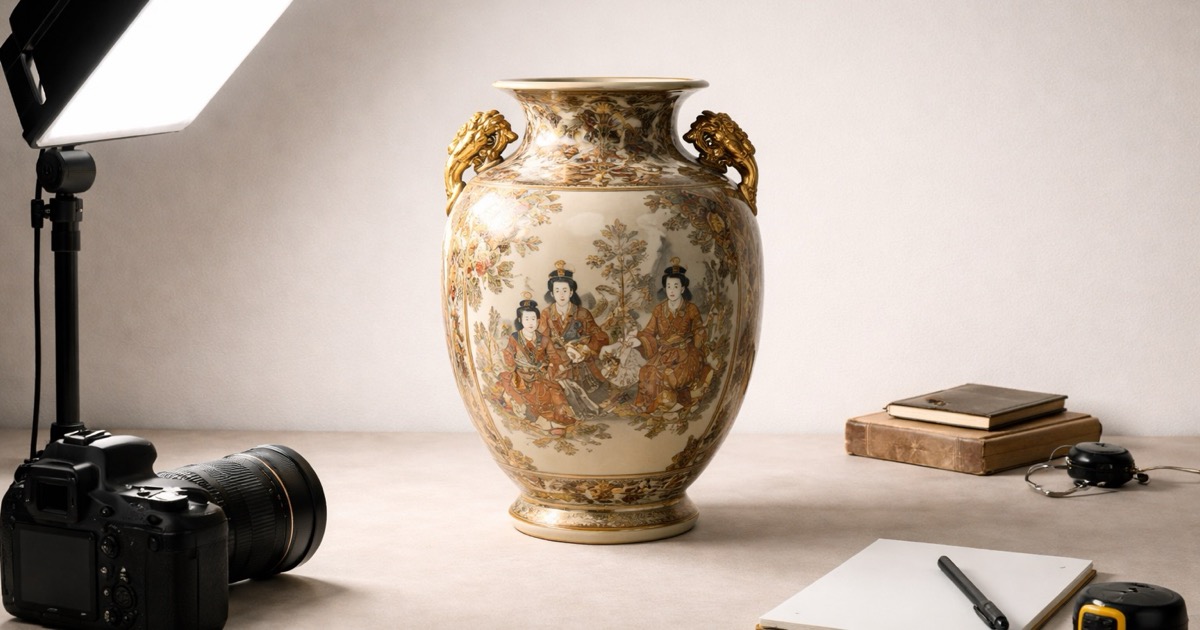
To photograph antiques for identification, shoot a set rather than a single picture: one full-object frame that captures the silhouette, tight detail shots of construction and wear, a sharp straight-on shot of every mark or label, and a raking-light shot that skims across the surface to reveal texture. Diffuse daylight, a neutral background, and a coin or ruler for scale do most of the work. Good photos will not authenticate a piece, but they let a reference guide, an appraiser, or an identification app read the evidence that actually settles what you have.
The mistake almost everyone makes is treating identification like a single snapshot. One flash-lit photo flattens the surface, blows out the finish, and hides the very marks and tool traces that carry the answer. A short, deliberate sequence of shots turns a guess into a diagnosis, because it records the four things that are hardest to fake: the form, the material, the marks, and the wear.
Quick identification checklist
- Shoot the whole object first, straight on and at a three-quarter angle, so shape and proportion read clearly.
- Use diffuse daylight or a softened lamp; avoid direct flash, which flattens surface and reflects off glaze and metal.
- Put the piece on a plain, neutral background so the camera meters and colors correctly.
- Photograph every mark, stamp, label, and number straight on and in sharp focus, with one wider shot showing where it sits.
- Add a raking-light shot, with light skimming across the surface, to reveal tool marks, mold seams, wear, and repairs.
- Include a coin or ruler in one frame so scale is unambiguous.
What to capture first
Begin with the full object, because form and proportion place a piece in a style family before any mark is read. Take one shot square to the front and one at roughly a three-quarter angle so legs, edges, handles, and silhouette all read. Fill the frame but leave a margin, and keep the camera level with the object’s midpoint rather than shooting down at it, which distorts proportion.
Then move to the parts that carry the most diagnostic value: the base, the back, the underside, the joinery, and any handles or feet. These are where makers left marks and where construction gives away age, and a dedicated maker’s-mark photography workflow covers those close-ups in more depth. Note damage and repairs as you go and photograph them too. A replacement lid, a repaired foot, a modern screw, or a re-glued handle can change both the dating and how much weight the identification can carry, so it belongs in the record, not hidden from it.
Lighting: why flash is the enemy
Direct on-camera flash is the single biggest reason identification photos fail. It flattens the surface into a bright disc, throws hard reflections off glaze, glass, and polished metal, and washes out the shallow tool marks and wear that tell you how a piece was made and used. Soft, even light does the opposite: it lets grain, glaze texture, patina, and mark edges show.
The easiest good light is indirect daylight near a north-facing window, or any window with a thin curtain diffusing it. Indoors, bounce a lamp off a white wall or ceiling rather than aiming it at the piece. Conservation guidance for handling fragile objects also warns against prolonged bright or hot light and unnecessary handling, which is worth heeding for photographs, textiles, and works on paper (Library of Congress). Keep sessions short, support the object, and photograph on a padded, stable surface.
The raking-light shot
Raking light is the one technique that separates a casual snapshot from a diagnostic photo. Instead of lighting the object from the front, you place a single light source low and to one side so it skims almost parallel to the surface. Every ridge, dip, tool mark, mold seam, hairline crack, and worn spot then casts a tiny shadow and jumps into view. It is how conservators read surface condition, and it is how you separate honest age from artificial distressing.
Use it on marks that are shallow, worn, or impressed rather than printed: silver hallmarks, pressed pottery stamps, embossed metal tags, engraved numbers, and mold seams on glass. A hallmark that is invisible under flat front light often reads clearly the moment the light rakes across it, which is why our guide to photographing silver hallmarks leans on side lighting. Take the raking shot in addition to a normally lit one, not instead of it, so you capture both the shape of the mark and its detail.
Which shots for which material
Different materials hide their evidence in different places, so the shot list shifts with the object. The table below maps the most useful frames to each broad material category.
| Material | Priority shots | Lighting note |
|---|---|---|
| Ceramics and porcelain | Base and footring, backstamp or impressed mark, glaze surface, any hairlines | Diffuse light; raking shot for impressed marks and crazing |
| Silver and metalware | Hallmark or maker’s stamp straight on, underside, joins and solder seams | Raking light to lift shallow, worn hallmarks |
| Glass | Pontil or base, mold seams, any acid-etched or paper label, edge for wear | Backlight or side light to show seams and internal detail |
| Furniture | Full front and three-quarter, drawer joinery, underside and back panel, labels | Even daylight; raking shot on tool marks and wear |
| Paper and textiles | Full item flat, any signature or maker label, edges and reverse | Soft, brief light; avoid heat and hard flash |
Record marks exactly as they appear before you interpret them, because small wording and spacing differences matter. Mark databases let you search by what you see rather than by a guessed maker, whether you are matching a ceramic backstamp (Kovels) or reading a series of silver hallmarks against a reference chart (Kovels). For hallmarks specifically, a straight-on, raking-lit close-up is what makes those references usable.
Background, scale, and focus
A plain, neutral background is not just tidy; it lets the camera meter exposure and color correctly. A busy tablecloth or a colored surface pushes the white balance off and makes glaze, wood tone, and metal finish read wrong to a viewer or an app. Mid-gray or white poster board works; so does a clean sheet draped to remove hard seams.
Get scale into at least one frame with a coin or a ruler beside the piece, since size is often the difference between two otherwise identical forms. Lock focus on the object, not the background, and if you are shooting a small mark, move back slightly and use your camera’s macro mode rather than pushing the lens too close, which softens the very detail you need. Steady the camera against a table edge or use a short timer to avoid the blur that makes marks unreadable.
Watch-outs and common mistakes
- Relying on a single photo; identification needs the full-object, detail, mark, and raking-light set, not one snapshot.
- Using direct flash, which flattens surface and hides the marks and wear that carry the answer.
- Shooting on a busy or colored background that throws off color and exposure.
- Photographing marks too close and out of focus instead of using macro mode and a sharp, straight-on frame.
- Confusing price with documented value, and treating any app or reference output as formal authentication.
Photo tips that improve identification
- Take the full-object shot first, square and level with the piece’s midpoint.
- Capture the base, back, underside, and any labels or numbers before you start researching.
- Add a raking-light frame for every impressed or worn mark, alongside a normally lit one.
- Use diffuse window light, a neutral background, and a coin or ruler for scale.
Common questions
What is the best lighting to photograph antiques for identification?
Soft, diffuse light is best, ideally indirect daylight from a window or a lamp bounced off a white wall. Direct on-camera flash is the worst choice, because it flattens the surface and reflects off glaze and metal, hiding the tool marks, wear, and mark edges that carry the identification. For shallow or worn marks, add a raking-light shot with the light skimming low across the surface.
How do I photograph a maker’s mark or hallmark so it can be read?
Shoot it straight on and fully in focus, using your camera’s macro mode rather than pushing the lens too close, and take a second wider frame showing where the mark sits on the piece. Then add a raking-light version, with a single light skimming across the surface, which lifts shallow, impressed, or worn marks that vanish under flat front light. Steady the camera to avoid blur, since even slight motion makes fine mark detail unreadable.
How many photos do I need to identify an antique?
Plan on a short set rather than one picture: a full-object shot straight on, a three-quarter angle, tight details of construction and wear, a sharp frame of every mark or label, and a raking-light shot of shallow marks. Including a coin or ruler for scale in one frame is worth the extra second. That sequence records form, material, marks, and wear, which is everything a reference or appraiser needs to work from.
Related guides
- How to Photograph Makers Marks for Identification
- How to Photograph Silver Hallmarks
- Antique Furniture Identification Marks
- Antique China Patterns Identification
- Antique Appraisal Guide: When to DIY and When to Hire Help
When to use the Antique Identifier app
The app is most useful after you have taken one full photo and a few tight detail shots, including a sharp frame of any mark. It can help narrow the likely type, era, and material, which makes your follow-up research faster. If the result points to something unusually rare, signed, or high value, treat that as a prompt for deeper verification rather than a final answer.